
Easy Old Fashioned Blackberry Pie Recipe (Fresh or Frozen)
Content Updated May 2, 2026
When my husband and I bought our house in 2023, the half-acre came with blackberry bushes, and every summer they bury us in berries. I freeze as many as I can so I can bake pie all winter, and the card I pull out first is Grandma Naida’s blackberry pie. She wrote down a filling that cooks on the stove in about 10 minutes, so it thickens before it ever touches the oven.
Why this recipe works
If you’ve ever been intimidated by pie, this is the recipe that’s going to change that for you. The filling takes about 15 minutes on the stove; it works with fresh or frozen berries, and the hardest decision you’ll have to make is what kind of top crust you want.Fresh or frozen berries both work, and the prep takes about 7 minutes.
What Makes This Blackberry Pie Recipe Special
This is a real berry pie with no artificial filling! Because it’s made with actual blackberries, the filling is a little more rustic and natural than what you’d get from a store-bought pie, which means it’s also a little more beautiful. Cooking the filling on the stove also lets you see exactly what you’re putting in the crust, and the ingredient list stays short at seven items. If pie has ever intimidated you, start here. The hardest decision is what kind of top crust you want.

Fresh Vs. Frozen Blackberries
Both work great in this recipe, which makes it a year-round pie. Fresh blackberries are obviously ideal when they’re in season, especially if you happen to have a backyard full of them (like us lol). But frozen blackberries are a fantastic option the rest of the year and tend to be more affordable. Just make sure to fully defrost them and drain the juice before adding them to the filling, or you’ll end up with a runny pie. I freeze my blackberries in a gallon ziplock bag, and lay it flat in the freezer for easy storage.
Tips for the Best Blackberry Pie
- Drain the berries well. This matters most with frozen berries, and it is the biggest factor in keeping the filling from running.
- Cook the filling on the stove. Skipping this step gives you a much looser pie.
- Start hot, then drop the heat. Bake at 450 for the first 10 minutes, then lower the oven to 350 for the remaining 30. The hot start crisps the bottom crust.
- Set the pie on a baking sheet. This is my favorite cookie sheet, and by doing so it saves your oven floor from sticky blackberry drips.
- Watch the edges. If the crust edge browns faster than the center, slide a pie shield over it for the rest of the bake.
- Let it cool for at least an hour. I know the wait is hard. Put the pie on a cooling rack and the filling sets so the slices hold together.
- Serve it warm with vanilla ice cream. I don’t negotiate on this one.
Tools I use to make Blackberry Pie
I have my favorite glass pie pan with an extra large lip for a thick crust. Using glass is nice so I can check the bottom crust, a medium saucepan for the filling, and a baking sheet to catch any bubbling over in the oven.
What to Serve With Blackberry Pie
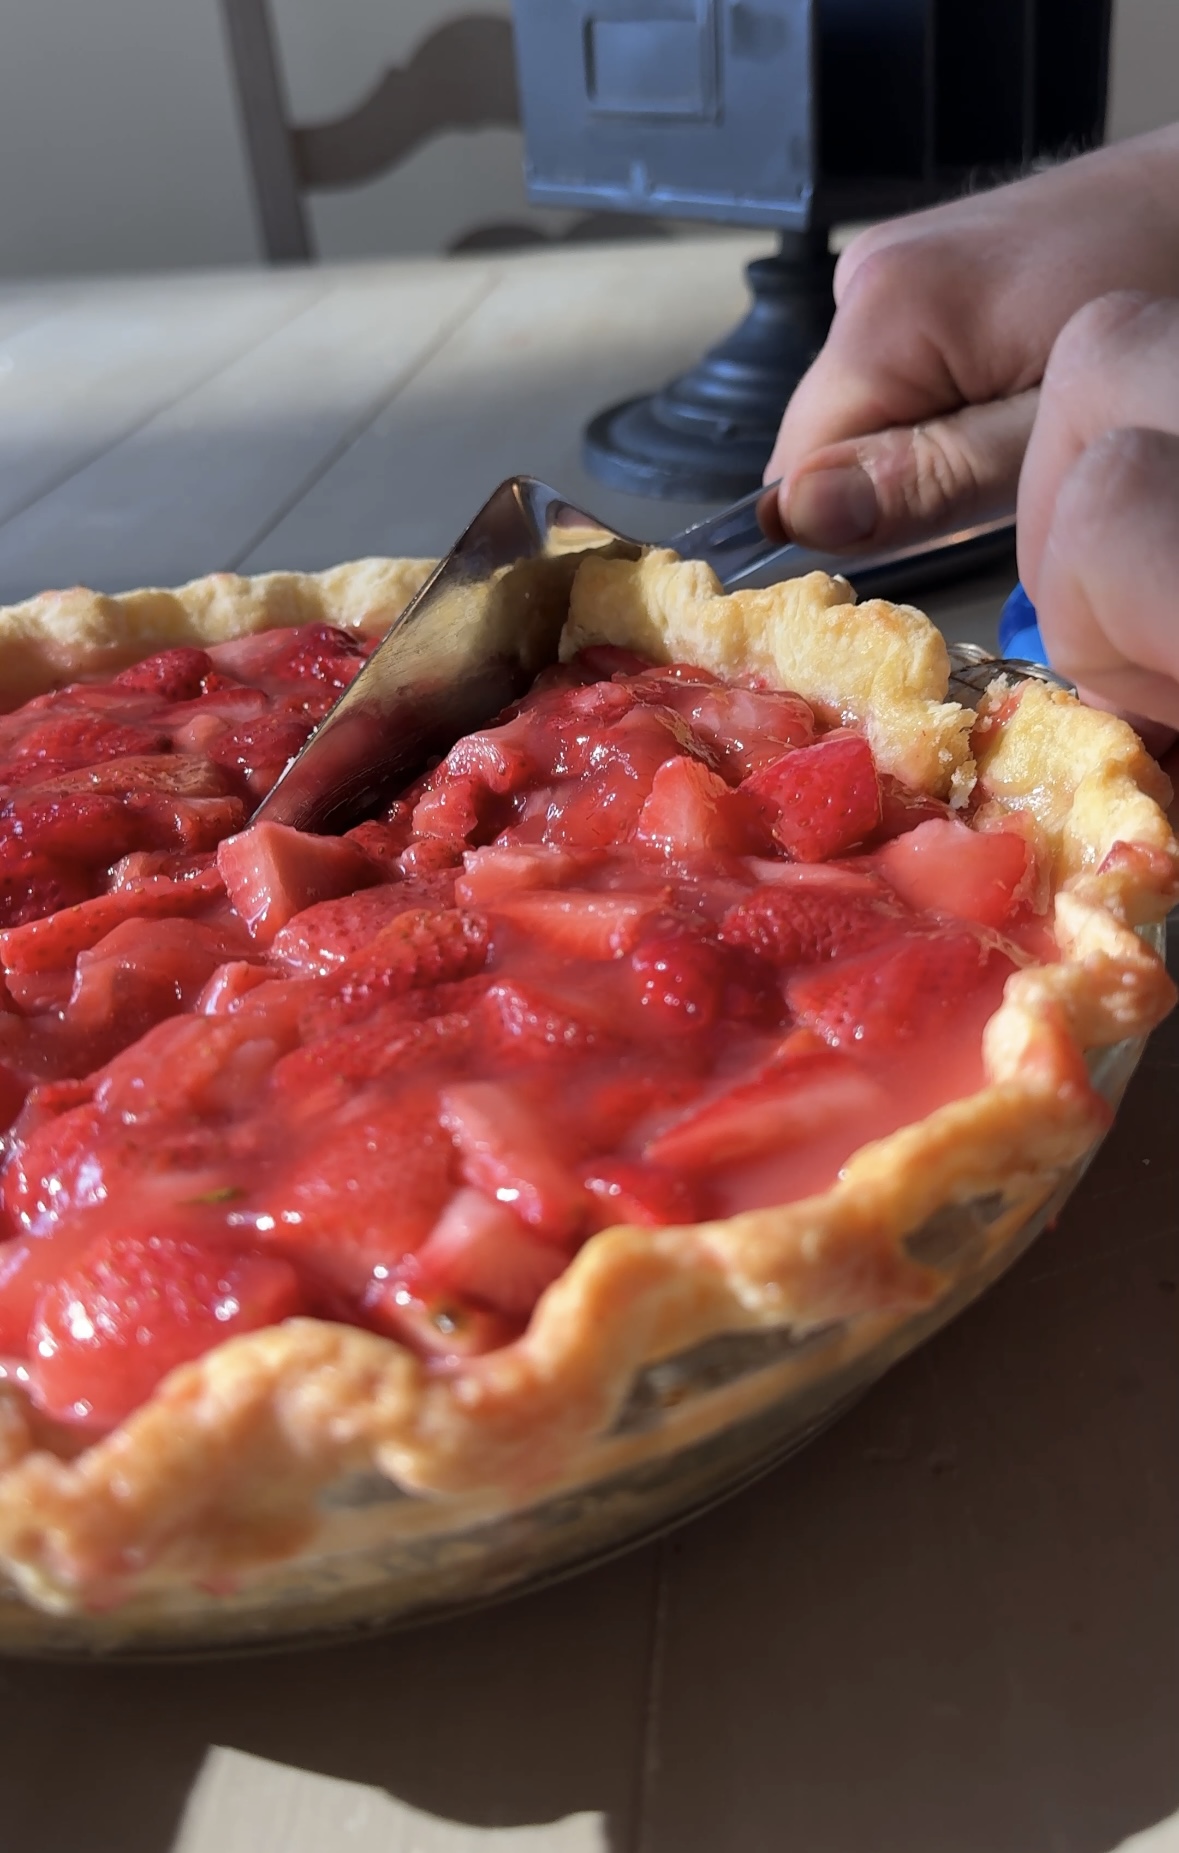
Vanilla ice cream is the classic and there’s a reason it never goes out of style. Fresh whipped cream is a close second. If you love berry desserts, you might also want to try Easy Strawberry Pie or Strawberry Rhubarb Pie , both are just as simple and use the same kind of fresh-fruit filling approach.
Frequently Asked Questions

How to make Easy Blackberry Pie
- Fit your bottom crust into a pie pan. Use my easy pie crust recipe or a store-bought crust.
- Heat the oven to 450 degrees.
- In a medium saucepan, combine the blackberries, sugar, salt, lemon juice, butter, and cornstarch. Cook over medium heat, stirring often, until the mixture thickens, about 10 minutes.
- Pour the thickened berry filling into the prepared crust.
- Add your top crust in any design you like, and cut a few vents so the steam can escape.
- Bake at 450 for 10 minutes. Lower the oven to 350 and bake for 30 more minutes.
- Cool the pie on a rack for at least an hour before you slice it.

Easy Blackberry Pie
Ingredients
- 1 cup sugar
- ⅛ tsp salt
- 1 recipe plain pastry
- 1 ½ tsp lemon juice
- 3 Tbs corn starch
- 3 cups blackberries if frozen, make sure they are thawed
- 2 tbs butter room temp
Instructions
- Prepare the pie pan with the crust (homemade or storebought)
- Combine the blackberries, sugar, salt, lemon juice, butter, and cornstarch in a medium saucepan. Cook over medium heat until thickened, about 10 minutes.
- Add the thickened blackberry mixture to your prepared pie crust.
- Adjust the top layer of crust over berries, in any design you want, but making sure there are a few air holes.
- Bake at 450 for 10 minutes, then lower the temperature to 350 and bake for 30 more minutes.
Notes
This post may contain affiliate links, you can read my policy here.
Use these images to save this recipe for later!


Leave a Rating & Review
Did you love the recipe? Let me know! And let others know too, by leaving a comment and a star rating. Reviews are so useful in helping other people find my site and make my recipes. Your support means the world to me! ⭐

One Comment
Comments are closed.